
Accidentally wiping an essential project folder, an executive presentation, or a lifetime collection of personal media assets is a highly disruptive digital event. One second you are clearing storage space on your hard drive, and the next, you realize you bypassed the Recycle Bin entirely using the Shift + Delete hard override command.
When file entries are permanently deleted on Windows, the operating system operating system scripts do not immediately erase the binary raw data from your physical sectors. Instead, it marks that specific storage space as “available for overwriting.” As long as you minimize local drive write operations, your files remain fully intact. You do not need to purchase expensive recovery software licenses or be a certified data forensics expert to pull this data back. In this comprehensive technical guide, we will break down exactly how to restore lost files on Windows using free, institutional-grade utilities like Microsoft’s native Windows File Recovery tool and CCleaner’s reliable Recuva software application.
Technical Comparison: The Best Free Data Recovery Utilities
Before running core recovery scripts, let’s analyze how the premier free software solutions handle deep partition sweeps behind the operating system core.
| Data Recovery Tool | Primary Interface System | Best Recovery Scenario | Core Scanning Advantage |
|---|---|---|---|
| Windows File Recovery | Command Line Interface (CLI) | Corrupted NTFS partitions, systematic software crashes. | Native Microsoft integration ensures deeper kernel-level registry access. |
| Recuva (Free Tier) | Graphical User Interface (GUI) | Accidental Shift+Delete wipes, external flash drive purges. | Exceptional quick-preview engine showing file health parameters before recovery. |

Step-by-Step Data Recovery Implementations
Method 1: Deploying Microsoft’s Native Windows File Recovery (CLI)
For advanced data blocks on NTFS structures, deploying Microsoft’s official command-line asset provides an elite, secure recovery boundary without introducing third-party tracking files.
- Open your Windows Start Menu, search for the official Microsoft Store, download Windows File Recovery, and launch the utility as an administrator.
- The software executes inside the classic Command Prompt console. The fundamental syntax line follows this exact system protocol:
winfr source-drive: destination-drive: /regular - To recover an executive document folder from your C: drive and safe-keep it onto an external backup drive labeled E:, enter this command line and press Enter:
winfr C: E: /regular /n \Users\<YourUsername>\Documents\ - The system script will scan your storage sectors, extract lost data packet blocks, and build a clean recovery directory on the destination drive instantly.
Method 2: Deploying Recuva for Quick Graphical Recovery
If you prefer a visual workspace layout to selectively click and restore specific file structures, the free tier of Recuva is the premier tool to deploy.
- Download the official installer package directly from the verified CCleaner Recuva download hub and launch the setup on your desktop.
- Upon startup, the Recuva Wizard configuration will ask you to specify the exact file type (e.g., Pictures, Documents, Compressed ZIP files) and the localized folder path to minimize scan loops.
- The Pro Tip: Run a Quick Scan first. If the file entry fails to register, restart the interface and tick the checkbox for Deep Scan. This instructs the algorithm to perform a byte-by-byte cluster analysis, reconstructing corrupted file headers automatically.
- Browse the generated file ledger, check the green health status indicator, highlight your missing items, and click Recover to dump them safely onto a separate storage partition.
The SSD Silent Killer: How the TRIM Command Impacts Data Recovery
Before you spend hours running deep cluster scans, you must understand a critical hardware variable that completely changes the data recovery matrix on modern computers: The TRIM Command.
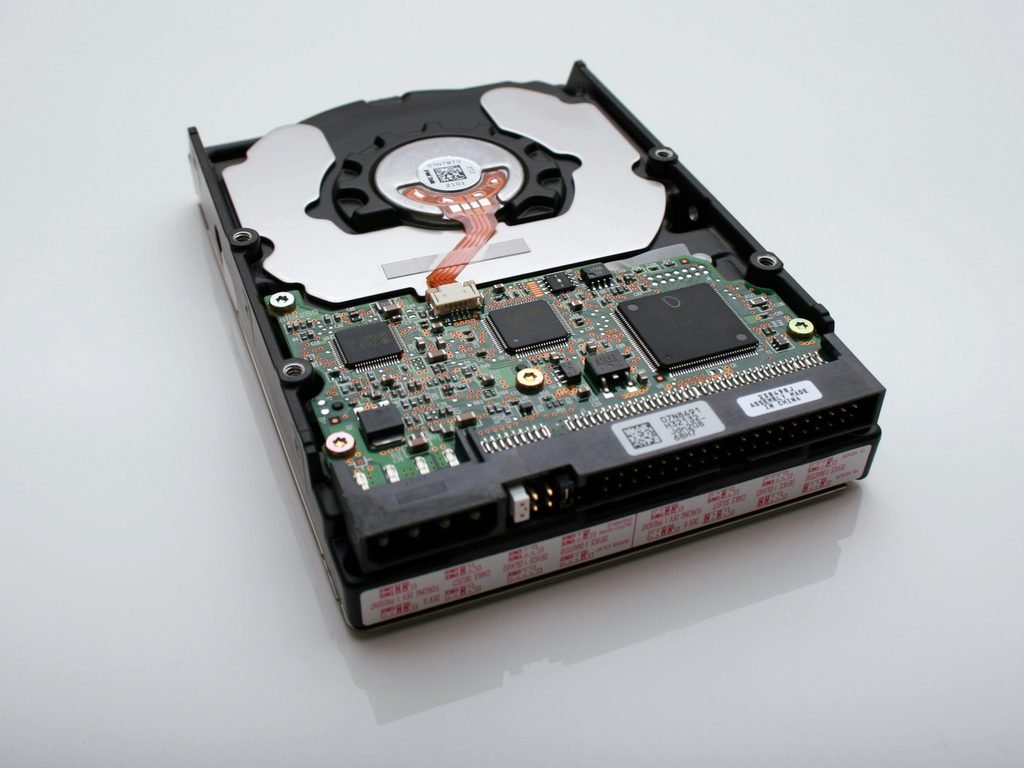
If your Windows 11 machine boots from a traditional mechanical Hard Disk Drive (HDD), data recovery is highly successful. As noted earlier, HDDs simply mark deleted sectors as “available,” leaving the raw binary data intact until new files physically write over them. However, modern premium laptops and desktop stations utilize Solid-State Drives (SSDs), which handle data destruction much more aggressively via the native TRIM protocol.
When you delete a file on an SSD with TRIM active, the operating system sends an immediate command to the drive controller cells. The SSD doesn’t wait for a future overwrite sequence; instead, it proactively executes an electrical purge of those specific flash memory blocks to maintain peak drive write performance.
The Practical Operational Survival Rule:
If you accidentally deleted a crucial project folder on an SSD using Shift + Delete, shut down your PC immediately. The longer the operating system stays live, the faster the background background maintenance scripts and TRIM processes will permanently erase those sectors. To pull data back from an SSD, you must hook the drive up to another computer as a secondary external partition before running tools like Recuva or Windows File Recovery.
Method 3: Deep File Carving with Windows File Recovery Extensive Mode
While the standard /regular syntax framework is excellent for quick, accidental deletions on healthy NTFS drives, it easily fails if your storage partition encounters a severe software crash, system sector corruption, or gets accidentally reformatted into a raw file system. To bypass these deep digital blocks, you must deploy the Extensive Mode tool parameters.
Extensive mode moves past basic file tables and executes a process known as “file carving.” The algorithm scans the raw data cells byte-by-byte, looking for specific structural file signatures (headers and footers) to reconstruct missing items out of absolute chaos.
Executing Advanced Carving Scripts:
If your storage drive or external USB flash drive gets corrupted and throws a “RAW” file system error, you can force a deep signature scan using the /extensive flag.
Open your Command Prompt as an administrator and deploy this precise command line structure to sweep for lost PDF documents and JPEG images from a corrupted drive D: into your backup E: folder:
winfr D: E: /extensive /n *.pdf /n *.jpg
Deciphering the Internal Scan Ledger:
- The Sector Analysis Phase: The CLI terminal engine will map your hardware clusters and display an operational percentage bar.
- The Allocation Trace: Extensive mode will create customized subfolders on your destination drive partitioned automatically by file extensions (e.g., a dedicated folder for all recovered
.pdffiles), ensuring a clean workspace layout once the extraction cycle completes.
Protecting Your Local Workspace Infrastructure
Data loss events usually trace back to underlying hardware storage degradation or severe background processing spikes. If your current system layout frequently suffers from frozen application screens or heavy background disk access congestion, you must optimize your machine configuration to avoid system file corruption.
Sometimes, localized operating system slowdowns aren’t just about your internal hard drive cells—outdated mobile equipment can also struggle when trying to handle dense automated cloud transfers. If you are managing your digital assets on a budget, take a look at our comprehensive guide on the top 7 best smartphones under 350 dollars to buy today for a powerful, lag-free mobile performance.
Furthermore, maintaining pristine network lanes avoids localized hardware stress when cloud storage syncing applications loop during heavy workloads. If your home network setup experiences unexpected disconnects or data packet spikes while backing up large database structures to remote web servers, check our definitive networking blueprint on how to fix high ping and packet loss in multiplayer games to permanently stabilize your internet corridors.
Frequently Asked Questions (FAQ)
Can files be recovered from an SSD after running a Shift + Delete command?
Recovering files from an SSD is highly difficult due to the native hardware TRIM command. When a file is permanently deleted, the operating system proactively executes an electrical purge of those specific flash memory blocks to maintain peak drive write performance, rather than marking the space as available. To maximize recovery chances, you must shut down the PC immediately and connect the SSD to another machine as a secondary external partition before scanning.
What is the technical difference between Regular Mode and Extensive Mode in Windows File Recovery?
Regular Mode utilizes the Master File Table (MFT) on healthy NTFS drives to quickly locate and restore recently deleted files. Extensive Mode passes basic system file tables and executes a process known as “file carving,” scanning raw data cells byte-by-byte for specific structural headers and footers to reconstruct missing items out of corrupted, formatted, or RAW storage drives.